

Table of contents
Why this?
Some devs might be in a hurry or want to take a quick look at what Filament is and what it is used for.
Please note this guide is for new projects don't follow this guide on existing project
Let's get started 😊
After you have finished a fresh Laravel and livewire project installation you can continue to add filament to your project
composer require filament/filament:"^3.0-stable" -W
php artisan filament:install --panels
The first command will install Filament and the second will install and set Filamnet's Panel to your project and a file will be added to the Providers Directory -
- app/Providers/Filament/AdminPanelProvider.php
I assume that you have already connected your project to a database. After the admin panel has been setuped let's create an admin user account by running the following command:
php artisan make:filament-user
Follow the instructions and a user will be created, now serve your application on localhost by running the following commands:
php artisan serve
npm run dev
// or
pnpm dev
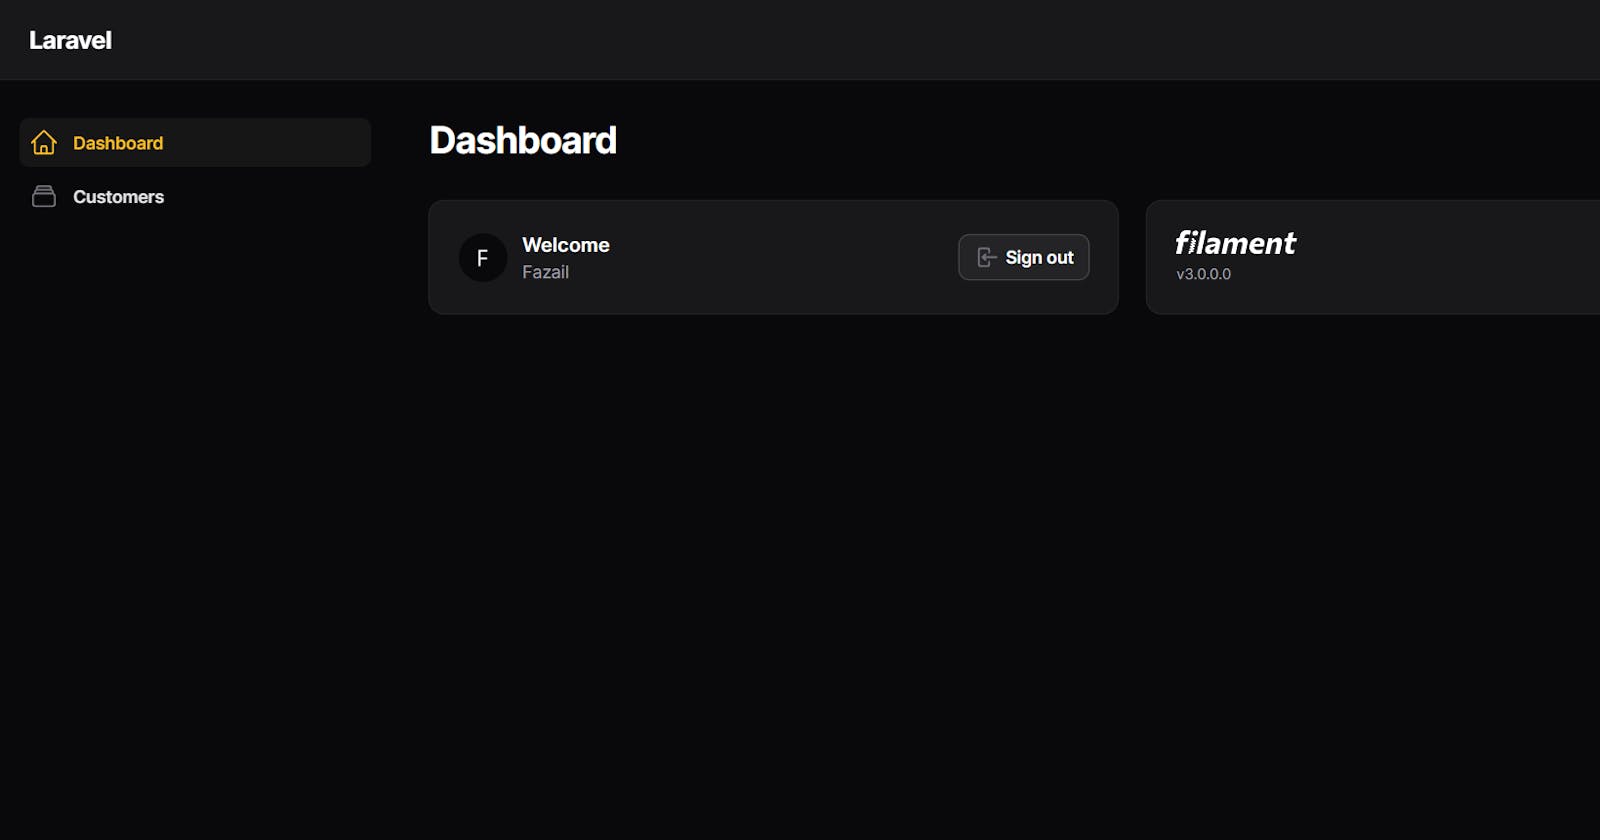
After the dev server is up and running head over to the browser and navigate to http://localhost:8000/admin, there you will see a login screen. Enter the credentials you just entered in the terminal while creating a filament user. After successful login, you will be redirected to /admin route.
Official docs in case you want some extra.
Creating a resource 🪄
In filament, resources are like sub-routes under the admin route. With one command you can instantly generate CRUD functionality for the selected Model:
List all records
Editing record
Viewing record
Creating record
Deleting record
I will keep the example similar to filament docs so there will less confusion, Let's create a model named Customer with its migration.
php artisan make:model Customer -m
Update the model and migration files with the below code:
// app/Models/Customer.php
use Illuminate\Database\Eloquent\SoftDeletes;

class Customer extends Model
{
    use HasFactory, SoftDeletes;
    // add for soft delete 👆
    protected $fillable = [
        'name',
        'phone',
        'address',
    ];
}
// database/migrations/xxxx_xx_xx_xxxxxx_create_customers_table.php
return new class extends Migration
{
    public function up(): void
    {
        Schema::create('customers', function (Blueprint $table) {
            $table->id();
            $table->string("name");
            $table->string("phone");
            $table->text("address");
            $table->softDeletes();
            $table->timestamps();
        });
    }
    ...
};
Now let's generate the resource
php artisan make:filament-resource Customer --generate --soft-deletes
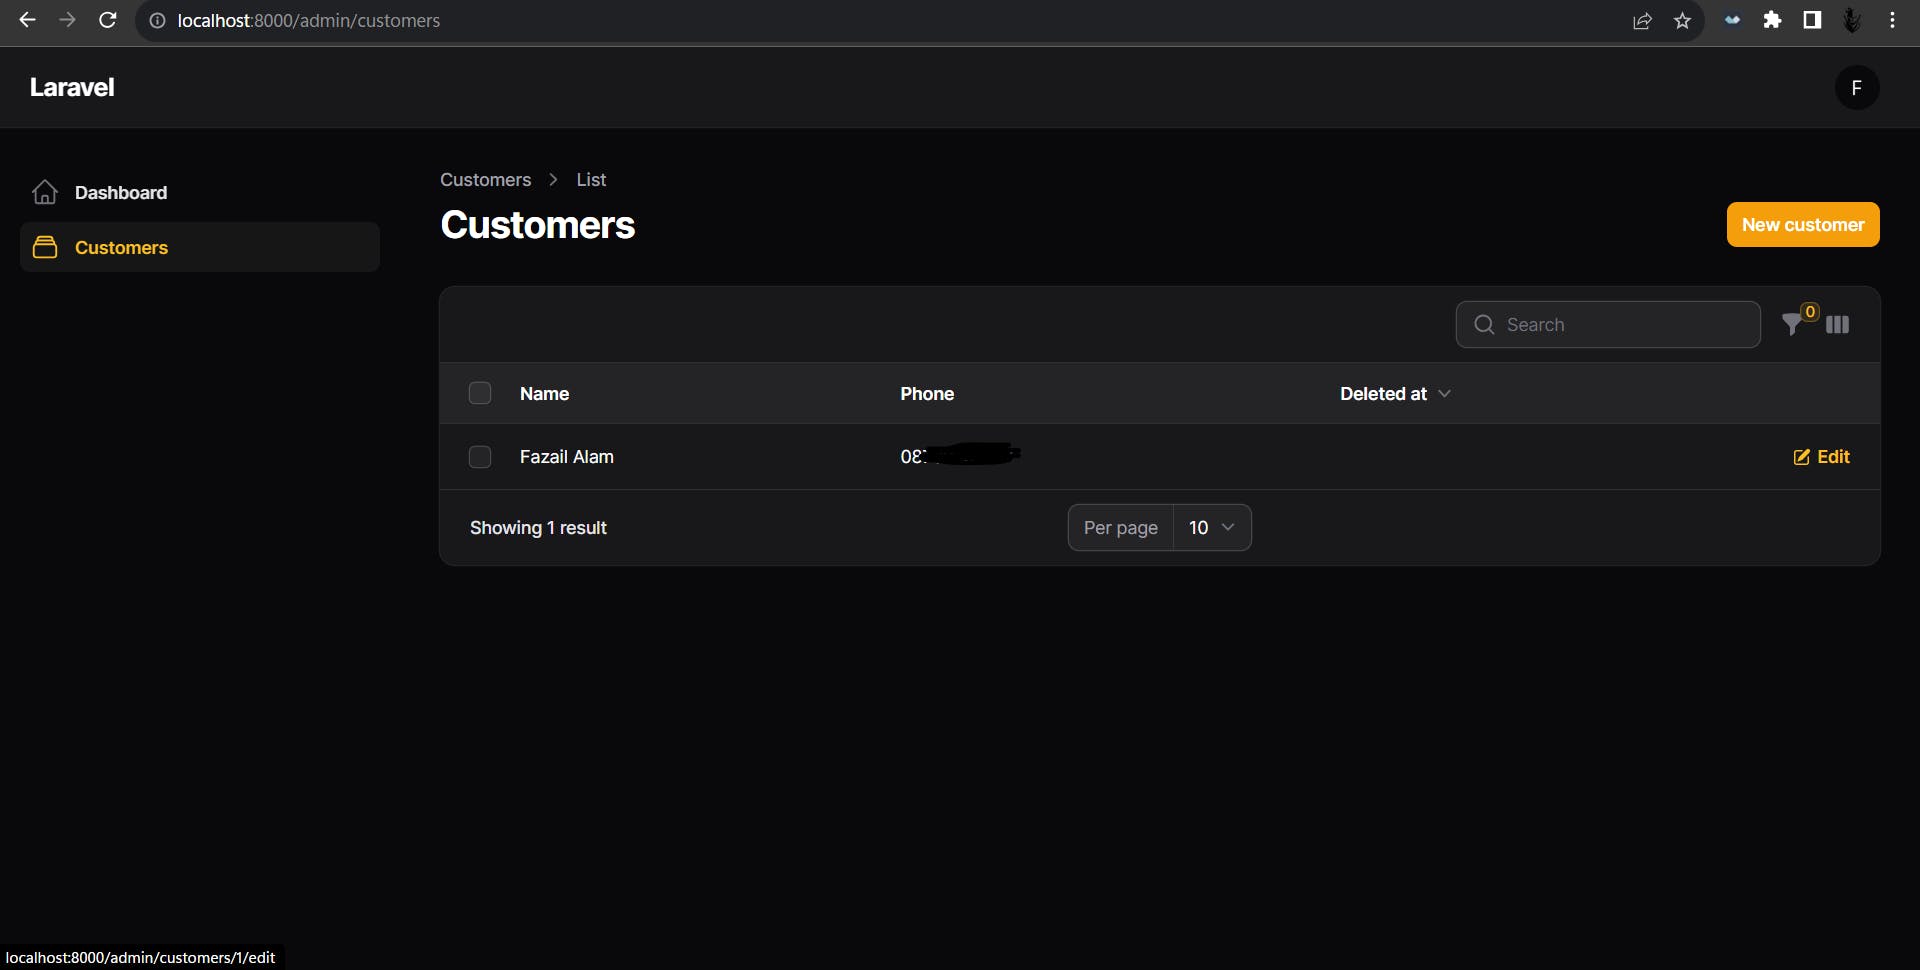
The customer is the name of the resource and will prefix or suffix to its related resource. I have added two flags which are for auto-generating form fields and table columns and for adding soft delete functionality to that resource.
If everything goes right you can see the new item in the sidebar called Customers.