

❤️ the way of filament? Well you can use filament outside of admin panel too.
This guide shows you how you can use filament features like FormBuilder, TableBuilder,etc in your daily livewire application.


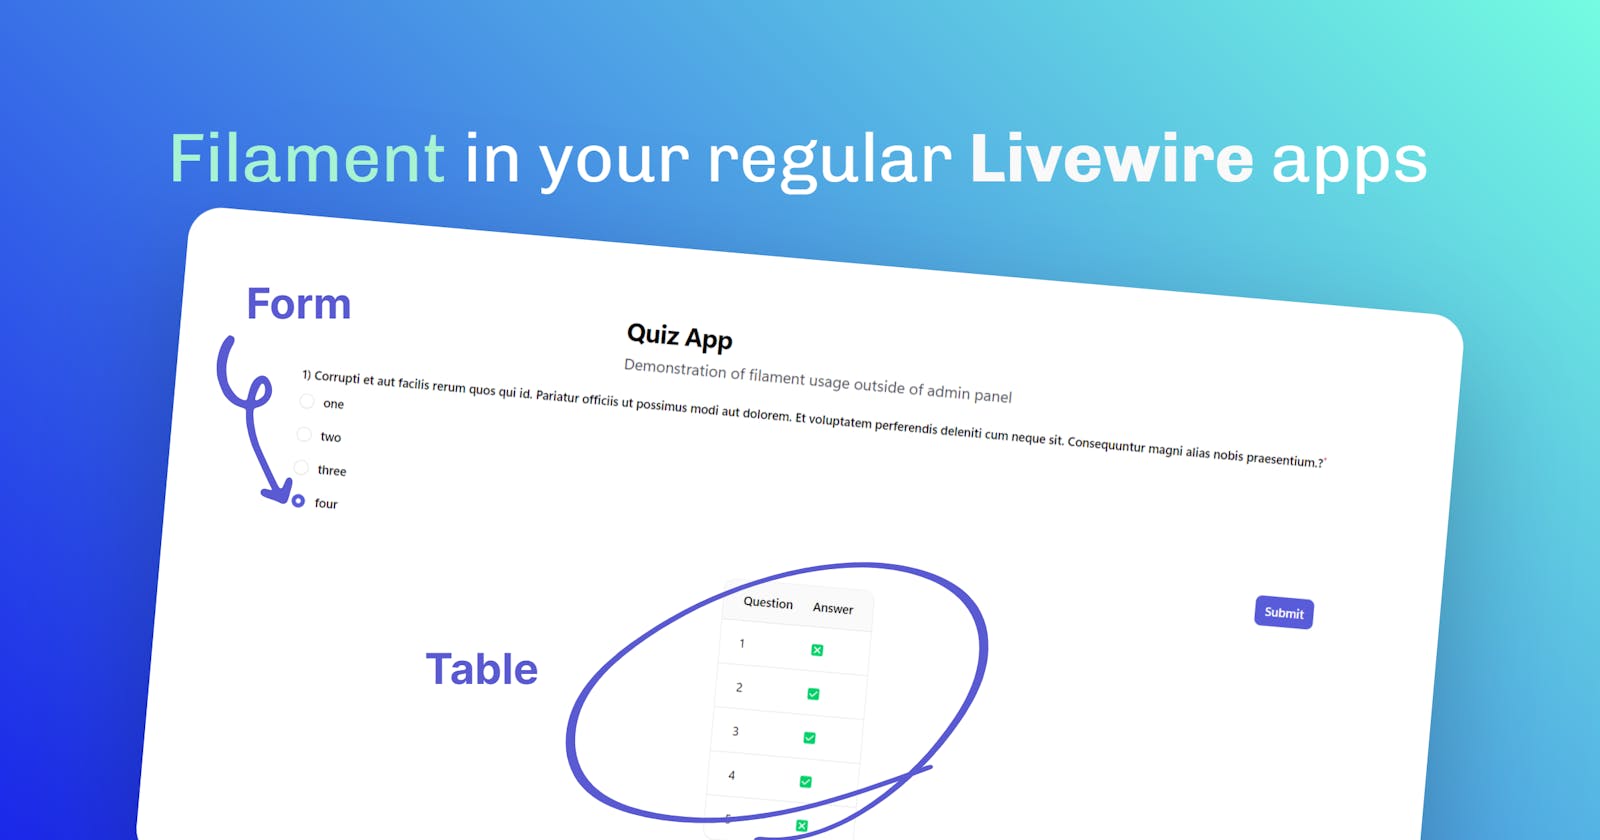
In this guide, we will be building a simple quiz app where user can submit their answer and see the given answers in the table below.
Theme change
Let's start by changing the theme because most of you don't want the default theme in your application. Register colors in the boot of ServiceProvider.
// app/Providers/AppServiceProvider.php
use Filament\Support\Facades\FilamentColor;
public function boot(): void
{
    FilamentColor::register([
        'primary' => "#6366f1",
    ]);
}
Models and migration
Let's generate the models and migrations we need, one model will be responsible for the question and the other one for the user's answer.
Commands to generate models with their respective migrations:
php artisan make:model Question -m
php artisan make:model Answer -m
Model: Question
 class Question extends Model {
     protected $casts =[
         'options' => 'array'
     ];
     public function userAnswer() { // relation
        return $this->hasOne(Answer::class);
     }
     // ...
 }
Model: Answer
 class Answer extends Model {
     protected $fillable = [
         'question_id',
         'user_id',
         'answer',
     ];
     public function question() { // relation
        return $this->belongsTo(Question::class);
     }
     public function user() { // relation
        return $this->belongsTo(User::class);
     }
     // ...
 }
Migration: questions
 // ...
 Schema::create('questions', function (Blueprint $table) {
     // ...
     $table->text("question");
     $table->integer("answer"); // index of below option e.g. one = 0
     $table->json("options"); // to store options like `one,two,three,four`
 });
Migration: answers
 Schema::create('answers', function (Blueprint $table) {
     // ...
     $table->foreignId('user_id')->constrained('users','id')->cascadeOnDelete();
     $table->foreignId('question_id')->constrained('questions','id')->cascadeOnDelete();
     $table->integer('answer');
 });
I hope you understand these models and migrations since these are Laravel things. Seed your database with some data before you continue.
Create a Livewire component
Let's create a livewire component and assign it to the route. This will be a full-page component.
php artisan make:livewire Quiz
// routes/web.php
use App\Livewire\Quiz;
Route::get('/quiz/{id}',Quiz::class);
Adding necessary things for filament form builder
Our livewire component class needs to implement HasForms interface and use InteractsWithForms trait. Inside the form method populate fields as we do in filament. $data variable is where we keep track of the input state.
// app/Livewire/Quiz.php
use Filament\Forms\Concerns\InteractsWithForms;
use Filament\Forms\Contracts\HasForms;
class Quiz extends Component implements HasForms {
    use InteractsWithForms;

    public ?array $data = [];
    public function form(Form $form): Form {
        return $form
            ->schema([
                // ...
            ])
            ->statePath('data');
    }
    //...
}
Below is the blade file for the livewire component. $this->form is where filament form fields will render.
// quiz.blade.php
<form wire:submit="create">
    {{ $this->form }}

    <x-filament::button type="submit">
        Submit
    </x-filament::button>
</form>
<x-filament-actions::modals />
Fields for our quiz app and a variable to store question numbers, I marked it as locked so the user won't change it from the front end.
// 👇 livewire v3 feature
#[Locked]
public int $qNo = 1;

// we want the question no from url
// example.com/quiz/1 -> $id = 1
public function mount($id): void {
    $this->qNo = $id;
    $question = Question::query()->findOrFail($id);
    $this->form->fill([
        'question' => $question->question,
        'options' => $question->options,
        'answer' => $question->userAnswer != null ? $question->userAnswer->answer : null,
    ]);
}

public function form(Form $form): Form {
    return $form
        ->schema([
            Radio::make('answer')
                // label to display question
                ->label(fn (Get $get) => $this->qNo . ") " . $get('question'))
                ->options((function (Get $get) {
                    return explode(',', $get('options'));
                }))
                ->name('answer')
                ->validationAttribute('answer')
                ->required()
        ])
        // ...
        ->model(Question::class);
}
Customize the page design a bit to make it look good. Notice I have added <livewire:notifications /> for filament notification to show.
<div class="max-w-7xl mx-auto min-h-screen flex flex-col items-center justify-center">

    <x-filament-panels::header heading="Quiz App" subheading="Demonstration of filament usage outside of admin panel" />

    <form wire:submit="submitAnswer" class="mt-5 flex flex-col">
        {{ $this->form }}

        <x-filament::button type="submit" class="self-end">
            Submit
        </x-filament::button>
    </form>

    <x-filament-actions::modals />
    <livewire:notifications />
</div>
Let's see how our submit function will look. First its checks if the user is logged in and then gets the field values from the form then we can get the user's answer from the $data variable. After it is stored in the database, we redirect the user to next question by simply adding +1 to the question number.
// app/Livewire/Quiz.php
use Filament\Notifications\Notification;
// ...
public function submitAnswer() {
    if (!auth()->check()) {
        Notification::make()
            ->title('Not logged in')
            ->danger()
            ->send();
        return;
    }

    $data = $this->form->getState();
    Answer::updateOrCreate([
        'user_id' => auth()->id(),
        'question_id' => $this->qNo,
    ], [
        'answer' => $data['answer'],
    ]);
    $this->redirect("/quiz/" . $this->qNo + 1);
}
Our form part is complete 🎉. Now let's head to the table part.
Table
Add the necessary interface and trait. Then create a function named table and add things as you do in a normal filament resources table function. We have to explicitly pass the model with a query to the query method, this will tell table builder to show data from this model.
use Filament\Tables\Concerns\InteractsWithTable;
use Filament\Tables\Contracts\HasTable;

class Quiz extends Component implements HasForms, HasTable
{
    use InteractsWithTable;
    // ...
    public function table(Table $table): Table
    {
        return $table
            // 👇
            ->query(Answer::query()->where('user_id', auth()->id()))
            ->columns([
                TextColumn::make('question.id'), // with relation
                TextColumn::make('answer')
                    ->state(function (Model $record) {
                        // just to show right or wrong answer
                        return $record->answer == $record->question->answer ? "✅" : "❎";
                    })
            ])
            ->paginated(false);
    }

}
Add this below the form tag or wherever you want the table to show
//
<div>
    {{ $this->table }}
</div>
//
That's it. I hope you are all well. If you don't understand feel free to ask me👋.